
Last updated November 21, 2026
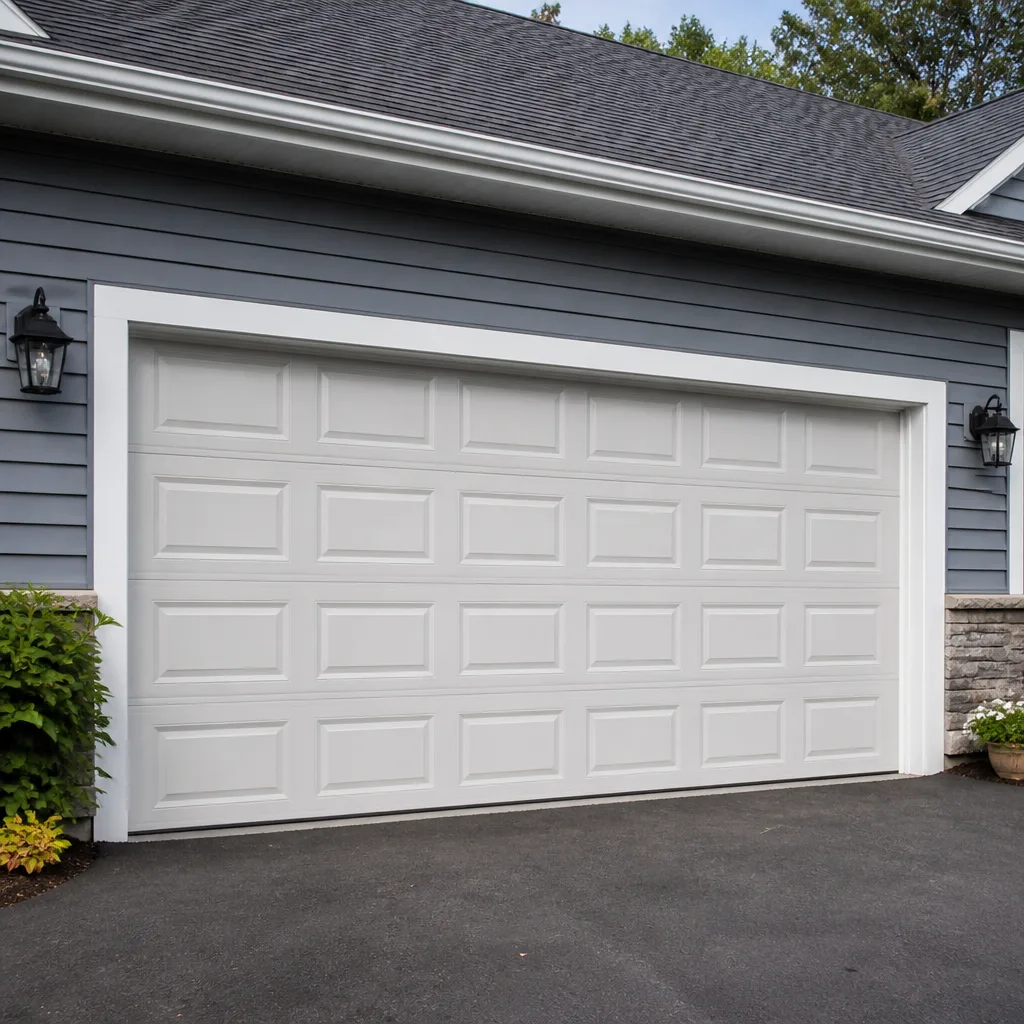 Raised-panel steel
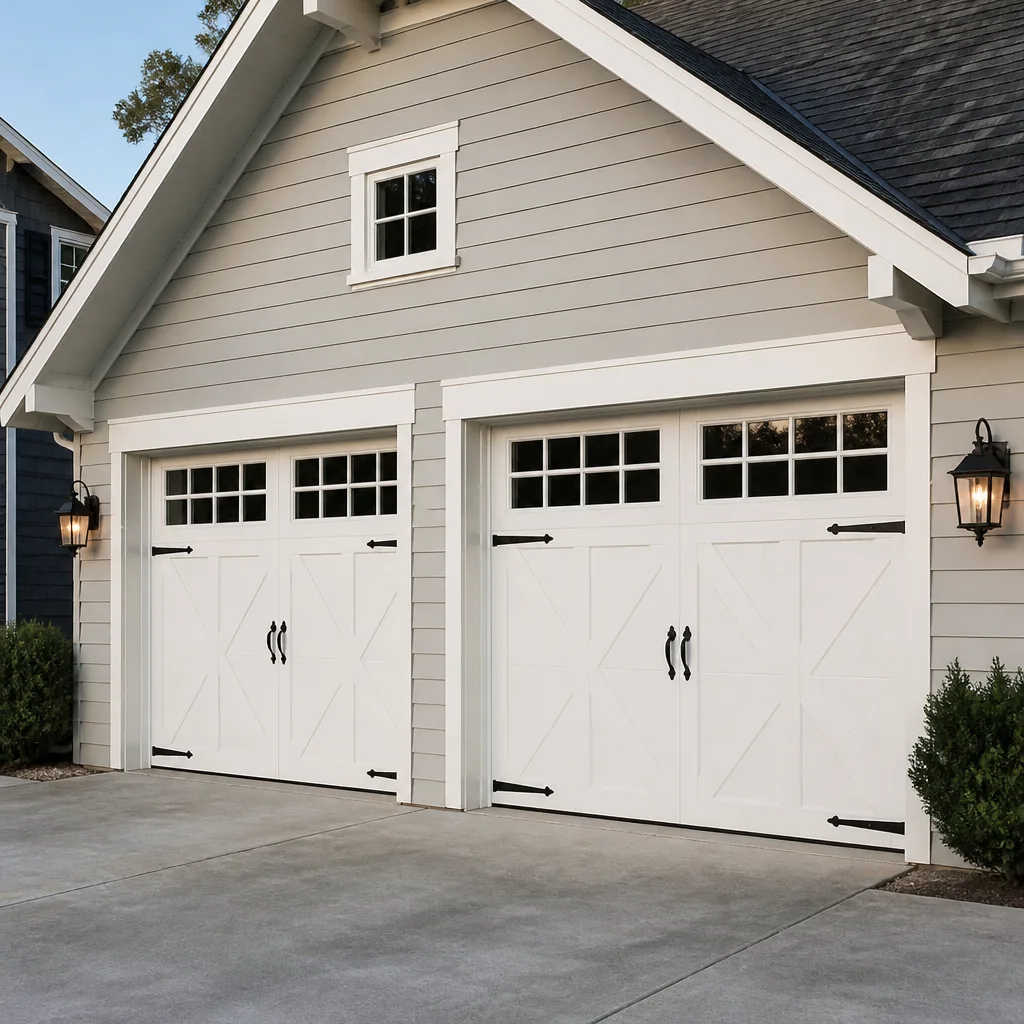 Carriage house
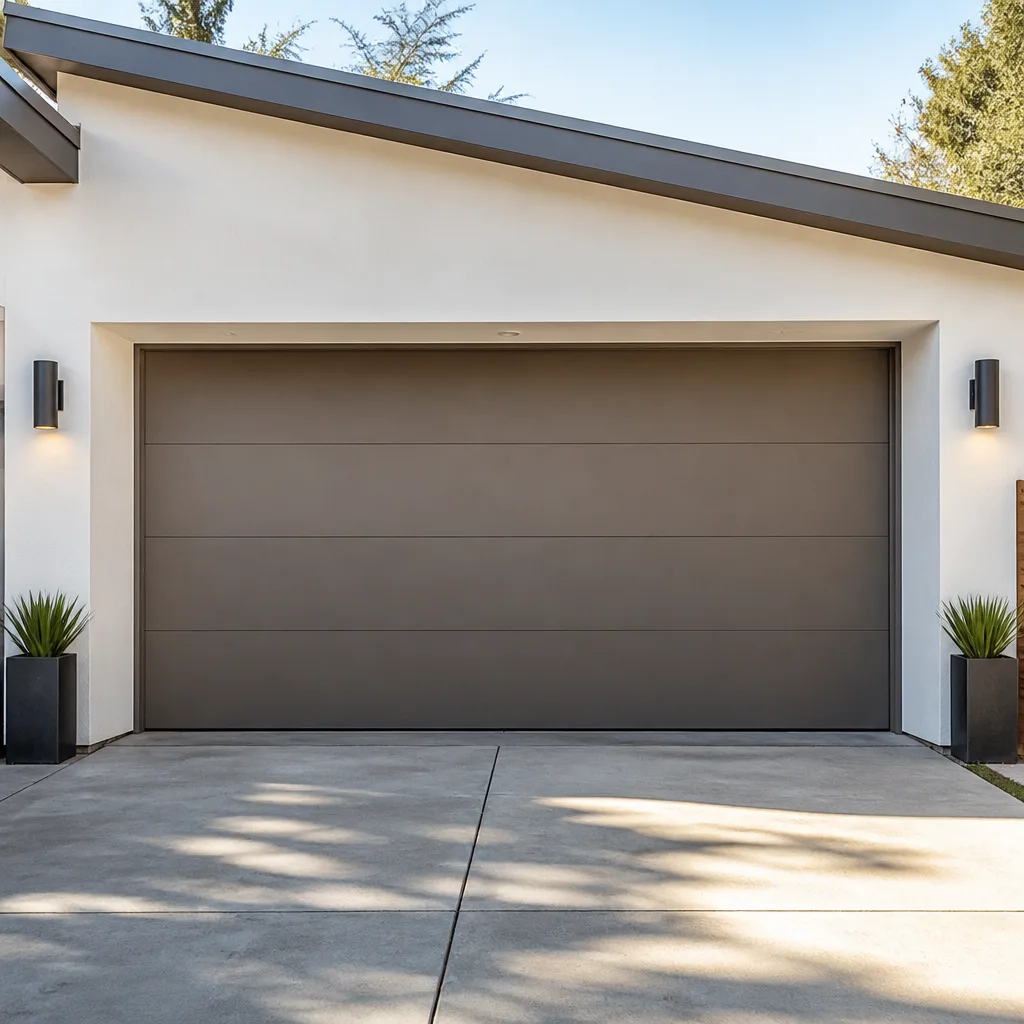 Modern flush
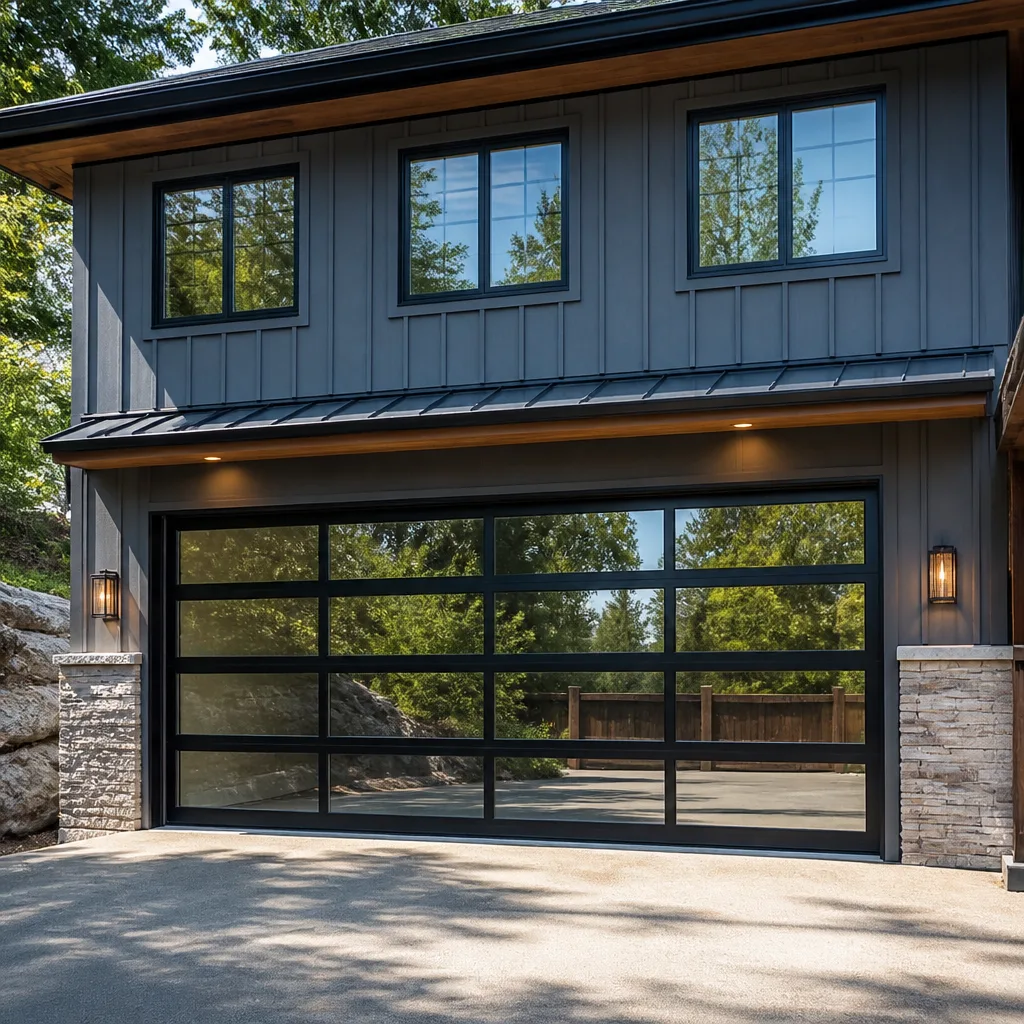 Full-view glass
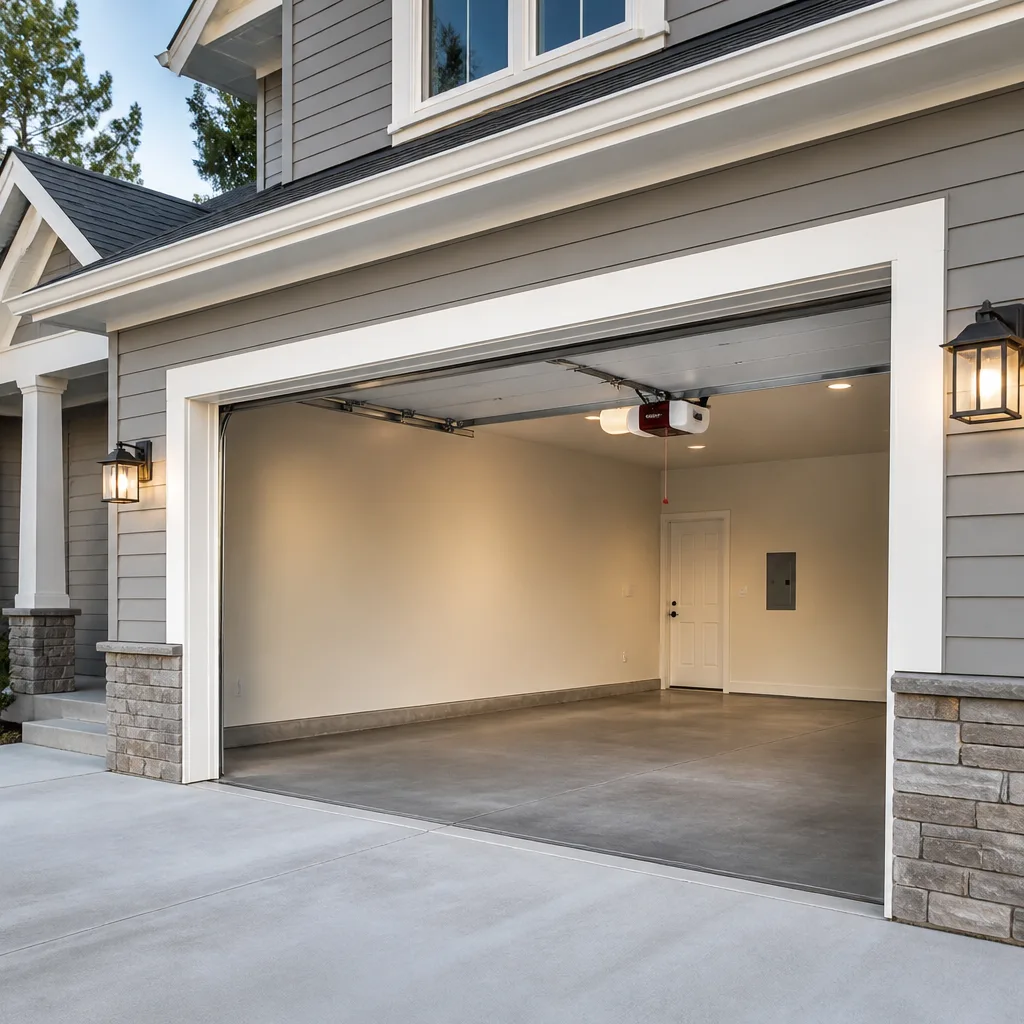 LiftMaster openers
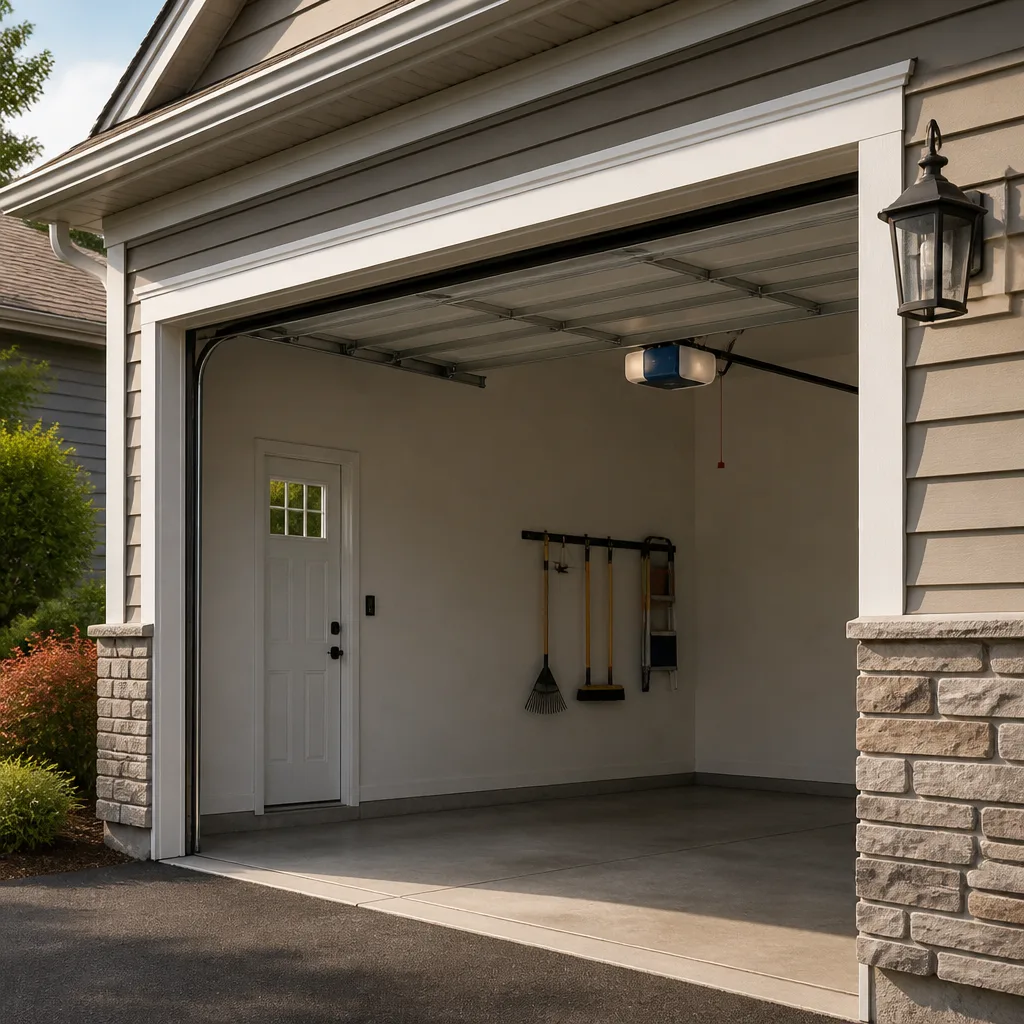 Chamberlain openers
Full 25-point door and opener safety check with every visit - springs, cables, rollers, tracks, and your LiftMaster or Chamberlain opener included
You get a price before we start. It does not change when the pro arrives.
Get your free estimateGarage Door Repair Maintenance Checklist for Wilmington Homeowners
A loose cable and a cable that’s about to fail look almost identical to anyone who hasn’t stared at a few hundred of them. That’s the problem with most garage door maintenance checklists: they tell you to “inspect for wear” without telling you what wear actually looks like, so a homeowner finishes the inspection feeling careful but no safer. This guide is built differently. Every item on it ends in a go/no-go call, so you know whether you’re done, whether you can handle it yourself, or whether it’s time to put the tools down and call someone. We’ll walk through the components in the order they fail, give you the thresholds that matter, and cover the Wilmington timing that a generic national checklist misses.
Quick Answer
A garage door maintenance checklist for Wilmington homeowners should cover the springs, cables, rollers, hinges, tracks, weather seal, and opener once a year, with a balance test every six months and a lubrication pass each fall before the first freeze. Anything involving spring tension, cable drums, or the torsion shaft is a stop-and-call item, not a DIY task. The rest you can inspect yourself in about 20 minutes with a flashlight and a level.
Styles & brands we work with
- Raised-panel steel
- Carriage house
- Modern flush
- Full-view glass
- LiftMaster openers
- Chamberlain openers
Table of Contents
- How a Garage Door Actually Fails
- The Annual Checklist, Component by Component
- Go/No-Go Thresholds: What “Fail” Actually Looks Like
- The DIY-Safe List and the Do-Not-Touch List
- Lubrication: What Goes Where and What to Keep Away
- Wilmington Timing: Pre-Winter Prep Around Freeze-Thaw
- Documenting Condition So You Catch Trends Early
- A Twenty-Minute Walkthrough, Step by Step
How a Garage Door Actually Fails
Garage doors rarely break without warning. They degrade in a predictable sequence, and once you know the sequence you can spot a problem two seasons before it becomes a snapped spring at seven in the morning. That’s the whole point of a maintenance checklist done properly.
In our experience, the failure chain almost always starts small: a roller seizes, a hinge dries out, the door starts running a little harder than it should. That extra resistance puts more load on the opener, which strains the gear and the logic board. Meanwhile the spring, which is already doing the heaviest lifting, cycles through tension it wasn’t designed for. Multiply that by a few thousand open-and-close cycles and you get the failures we see most often in Wilmington: a torsion spring that lets go, a cable that frays and jumps its drum, or an opener that burns out trying to lift a door it can no longer handle.
The parts that matter most, in order of consequence:
- Torsion and extension springs – they carry the door’s weight and fail under load with dangerous force
- Cables and drums – they hold the door’s weight in tension and are second only to springs in injury risk
- Rollers and hinges – the moving parts that wear first and cheapest to replace
- Tracks – they guide the door; bent tracks bind the whole system
- Weather seal and bottom seal – your first defense against drafts, moisture, and pests
- The opener and its safety reverse – the part most homeowners test and get wrong
Notice that the parts that fail loudest and costliest are also the parts you shouldn’t touch yourself. That’s not a sales pitch, it’s just the physics of a system under constant heavy tension. If you’re not sure where to start, our Wilmington Garage Door Repair Co team walks homeowners through it over the phone before anyone ever books a visit.
The Annual Checklist, Component by Component
Here’s the full sweep. Do it once a year, ideally in the early fall, and you’ll catch nearly everything while it’s still a small repair. We’ll cover timing in detail further down.
1. Springs
Look at the coil above the door. On a torsion spring, look for a visible gap or a segment that’s pulled apart. On an extension spring, look for stretched gaps between coils and check that the safety containment cable threads through the center of the spring. If either looks off, stop. Springs under tension are the single most dangerous component on the whole door and the reason we treat garage door spring repair as its own discipline.
2. Cables
Run your eyes down each side of the door from drum to bottom bracket. A healthy cable is smooth and tightly wound. Fraying, kinks, or a birdcage-like unraveling near the drum means the cable needs professional replacement. Never handle a cable that’s under tension. If it looks loose, the door is unsecured and shouldn’t be operated.
3. Rollers
Nylon rollers should be quiet and round. Steel rollers should turn freely. A flat spot, a wobble, or a grinding sound as the door moves means replacement time. Rollers are inexpensive and easy to swap, making them the most cost-effective DIY item on this whole list. That said, we see doors in Wilmington where a seized roller has carved a groove in the track before the homeowner noticed.
4. Hinges
Hinges hold the panels together and take the stress of every open and close. Check each one for hairline cracks, loose screws, or a wobble when you wiggle the door panel. Replacements are cheap and available at any hardware store for standard doors.
5. Tracks
Look along each track for dents, bends, or a section that’s been pushed out of alignment. A track that binds the door will strain everything upstream. Small adjustments are possible, but a bent vertical track usually needs replacing to keep the door running true.
6. Bottom seal and weather stripping
The rubber seal along the bottom should be pliable and sit flush to the floor when the door is closed. A cracked, hardened, or torn seal lets in drafts, water, and pests. Replacing it is a DIY job for most doors, and worth doing before winter sets in.
7. Opener and safety reverse
Test the safety reverse by placing a small object in the door’s path and closing it. The door should reverse on contact. If it doesn’t, the opener’s force settings need adjusting, or there’s a fault. Most modern openers from LiftMaster and Chamberlain use photoelectric eyes near the floor. Check that both are aligned and lit.
Go/No-Go Thresholds: What “Fail” Actually Looks Like
This is the section most checklists skip. A vague instruction like “check for wear” is useless because everything on a garage door is technically “worn” after a few years. Here’s what an actual fail looks like for each part, and what “green light” looks like next to it.
- Spring – Go: Coils are tight, no gaps, door balances with the opener disconnected. No-go: Visible separation, stretching, or a door that feels unusually heavy or slams down.
- Cables – Go: Taut, smooth wind, no fraying. No-go: Any fraying, kinking, or slack on one side. A single loose cable means stop using the door.
- Rollers – Go: Round, quiet, turning freely. No-go: Flat spots, wobble, or a grinding noise that gets louder as the door moves.
- Hinges – Go: Tight, intact, no wobble. No-go: Hairline cracks, missing screws, or a door panel that shifts when you push it.
- Tracks – Go: Straight, parallel, door runs smooth. No-go: Visible bends, dents, or a door that jumps or shudders on the way down.
- Bottom seal – Go: Pliable, flush with the floor, no light peeking through. No-go: Hard, cracked, torn, or gaps letting in daylight and weather.
- Safety reverse – Go: Reverses on contact with an object. No-go: Continues closing. This is the one fail you must fix on the spot, because it’s a genuine safety hazard.
We’ve found that homeowners who use thresholds like these instead of vague “check for wear” directions catch problems earlier and skip the emergency call. If a no-go item shows up on your list, call us at (877) 780-7403. We answer 24/7, and fast dispatch runs from 7am to 7pm.
The DIY-Safe List and the Do-Not-Touch List
Not everything on a garage door is dangerous, and treating the whole checklist like a hazard is just as bad as treating it like a weekend project. Here’s the honest split.
Genuinely safe for a homeowner:
- Test the safety reverse (place an object in the path, close the door, watch for reversal)
- Lubricate hinges, rollers, and the torsion spring (sparingly, with the right product – more below)
- Inspect and replace the bottom seal
- Check and tighten visible bolts and screws on tracks and hinges
- Wipe down the photoelectric eye lenses on the opener
- Replace worn rollers on a door with the opener disconnected and the door fully down and relaxed
Do not touch, no matter how handy you are:
- Spring replacement or adjustment – torsion springs store enough energy to cause severe injury, and there’s no safe way to release that tension without the right winding bars and training
- Cable replacement or adjustment – cables are under tension and can slice through a hand or whip loose
- Cable drums – same hazard, plus the risk of dropping the door
- Any work with the door in the raised position and the springs wound – the system is loaded and holds that load while you’re underneath it
We treat a stuck door as a safety issue, not a nuisance. If your door is stuck, off its tracks, or hanging unevenly, stop operating it and call. That’s a situation where a trained technician for garage door repair genuinely needs to be the one on the ladder. Our technicians have up to 8 years of experience with these systems, and they know when a component is a small fix and when it’s a hazard.
Lubrication: What Goes Where and What to Keep Away
Lubrication is where well-meaning homeowners cause the most harm. The wrong lubricant doesn’t just fail to help, it attracts grit, gums up moving parts, and accelerates the very wear you were trying to prevent. Here’s the breakdown by component.
What to use where
- Torsion spring, hinges, and rollers: A dedicated garage door lubricant, typically a lithium or silicone-based spray. Apply lightly, one pass per hinge and roller stem, then wipe off excess.
- Roller bearings: A few drops of light machine oil, or the same garage door lubricant, worked into the bearing.
- Opener rail and chain: Chain-drive openers want a small amount of the lubricant specified for your opener model. Belt-drive openers generally don’t need lubricant on the belt.
- Track: Nothing. This is the biggest mistake. Tracks are meant to stay clean and dry. Lubricant in the track collects dust and makes rollers slip instead of roll.
What not to use
- WD-40 (the general-purpose kind) on hinges, rollers, or springs. It’s a light solvent, not a lasting lubricant, and it will thin out whatever the manufacturer applied, then evaporate.
- Grease in the track or on the spring. It holds grit.
- Motor oil or cooking oil on any part of the door. Both attract dust and eventually gum up.
If your opener is a LiftMaster or Chamberlain model with a chain drive, check the manual’s lubrication spec before applying anything. And if your opener is throwing error codes or reversing on its own, that’s garage door opener repair territory, not a lubrication problem.
Wilmington Timing: Pre-Winter Prep Around Freeze-Thaw
Wilmington gets the freeze-thaw cycle that gnaws at a garage door’s most exposed parts. Overnight temperatures drop below freezing, warm back up during the day, and that cycle repeats through winter. What that means practically:
- Wooden doors swell and shrink. Panels can warp slightly, and hinges can loosen. Check hinge screws each fall before the first hard freeze.
- The bottom seal takes the worst of it. A seal that sat flush against the floor in August can harden and crack by December. Replace it in early fall while the product is still pliable and the job is comfortable to do.
- Metal tracks contract in cold. A track that’s slightly out of line in summer can bind the door in January. Check alignment annually and again after the first cold snap.
- Lubricant thickens in cold. A fall lubrication pass, done after summer’s dust has settled and before the first freeze, keeps hinges and rollers moving freely through the cold months.
Our recommendation for Wilmington homeowners: do the full checklist once in early fall, then a quick visual sweep in early spring after the worst of the freeze-thaw cycle has passed. You’ll catch both the summer wear before winter and any cold-weather damage before it becomes a summer problem. The garage doors we see in Trolley Square and along the Riverfront take the same beating from the season cycle, and the fix is nearly always maintenance-based rather than repair-based if it’s done early.
Documenting Condition So You Catch Trends Early
A single inspection is a snapshot. Documented inspections over three or four years are a trend line, and trends are what tell you a component is heading for failure long before it gets there.
The simplest system: keep a notebook or a note in your phone with four fields for each component every time you check:
- Date
- Component (springs, cables, rollers, hinges, tracks, seal, opener)
- Condition (good / watch / replace)
- Notes (e.g., “left spring showing two gaps,” “3rd roller from bottom grinding”)
Two or three seasons of that gives you a real picture. A spring that goes from good to “watch” to showing gaps over three years is telling you the replacement window is close, so you can schedule it. A seal that was replaced last fall and is already hard tells you the door isn’t closing square or the threshold is uneven. If you see the same component on the “watch” list two years running, that’s your signal to book a pro evaluation before it becomes the next emergency.
When we diagnose a door, whether it’s a Genie opener that’s been throwing codes or a torsion spring that’s reached the end of its life, we log the same things. It’s how we tell homeowners what to expect and when, rather than just fixing what broke this time.
A Twenty-Minute Walkthrough, Step by Step
Here’s the whole checklist as a numbered sequence you can run through in a single morning. Grab a flashlight, a level, a rag, a can of garage door lubricant, and your phone for notes.
- Close the door and stand inside. Look along the bottom seal for daylight or gaps. Note any that are wider than a pencil.
- Disconnect the opener. Pull the release handle so the door is on manual. Lift the door to about waist height and let it go. It should stay put. If it drops or feels heavy, the springs are suspect. Do not test further.
- Visually inspect the springs. Look for gaps, stretching, or separation. Note the color of the spring (the color codes the tension). No touching, no adjusting.
- Inspect each cable. Run eyes down each side. Note fraying, kinks, or slack. Do not touch a cable under tension.
- Check each roller. Spin each one with a finger. Note any that feel flat, wobble, or don’t turn. Replace the worn ones if the door is fully down and the springs are relaxed.
- Check each hinge for cracks or missing screws. Tighten loose screws. Replace cracked hinges.
- Check track alignment. Use your flashlight to sight along each track from the bottom. Look for bends or dents. Note any the door catches on.
- Reconnect the opener. Run the door up and down once. Listen. A grinding noise, a shudder, or a hesitation means a problem.
- Test the safety reverse. Place a small object in the door’s path and close it. The door must reverse on contact. If it doesn’t, the opener needs adjustment or repair immediately.
- Lubricate hinges, rollers, and the torsion spring with a dedicated garage door lubricant. Wipe off excess. Nothing in the track.
- Record everything in your log with the date. Note the components on “watch” and plan replacements for the ones that are borderline.
If at any point on this walkthrough something looks like a no-go, the answer isn’t to keep going and see how it feels. It’s to stop using the door and call. A broken garage door in Wilmington isn’t just an inconvenience when it leaves the house open to the alley or the driveway. Take it seriously and get it looked at. If you’d rather have a specialist walk the checklist with you, our team handles full inspections as part of any repair visit.
Common Mistakes to Avoid
- Lubricating the tracks. Two sentences and it’s worth repeating: tracks stay clean and dry. Grease in the track attracts grit, makes rollers slide instead of roll, and can leave the door harder to move than before you started. Wipe tracks clean; don’t grease them.
- Testing the balance with the opener still engaged. The manual release is the whole point of the balance test. If the opener is still connected, you’re testing the opener, not the springs, and you’ll miss the actual wear.
- Ignoring the safety reverse because it “seems fine.” A door that closes on an object instead of reversing is a genuine injury risk. Test it every six months, not once a year, and fix it the day you find a problem.
- Assuming a noisy door means “just old.” A grinding, rattling, or shuddering door is telling you something is worn or binding. Noise is a signal, not something to live with.
- Replacing one spring when both are the same age. Springs usually wear at close to the same rate. Replacing one and leaving the other means you’ll be back in a year for the second half of the same job. Ask whether the pair should go together.
- Doing the checklist after a failure instead of before. Annual maintenance is cheap. A snapped spring with the car trapped inside, or a cable that’s jumped the drum and left the door hanging, is not. In Wilmington, we’d rather inspect a healthy door than rescue a broken one.
- Skipping the fall pass because “it’s not that cold yet.” The freeze-thaw cycle doesn’t wait. Do the fall checklist in early fall, before the first hard freeze, so worn parts get replaced while the weather favors it.
See the difference
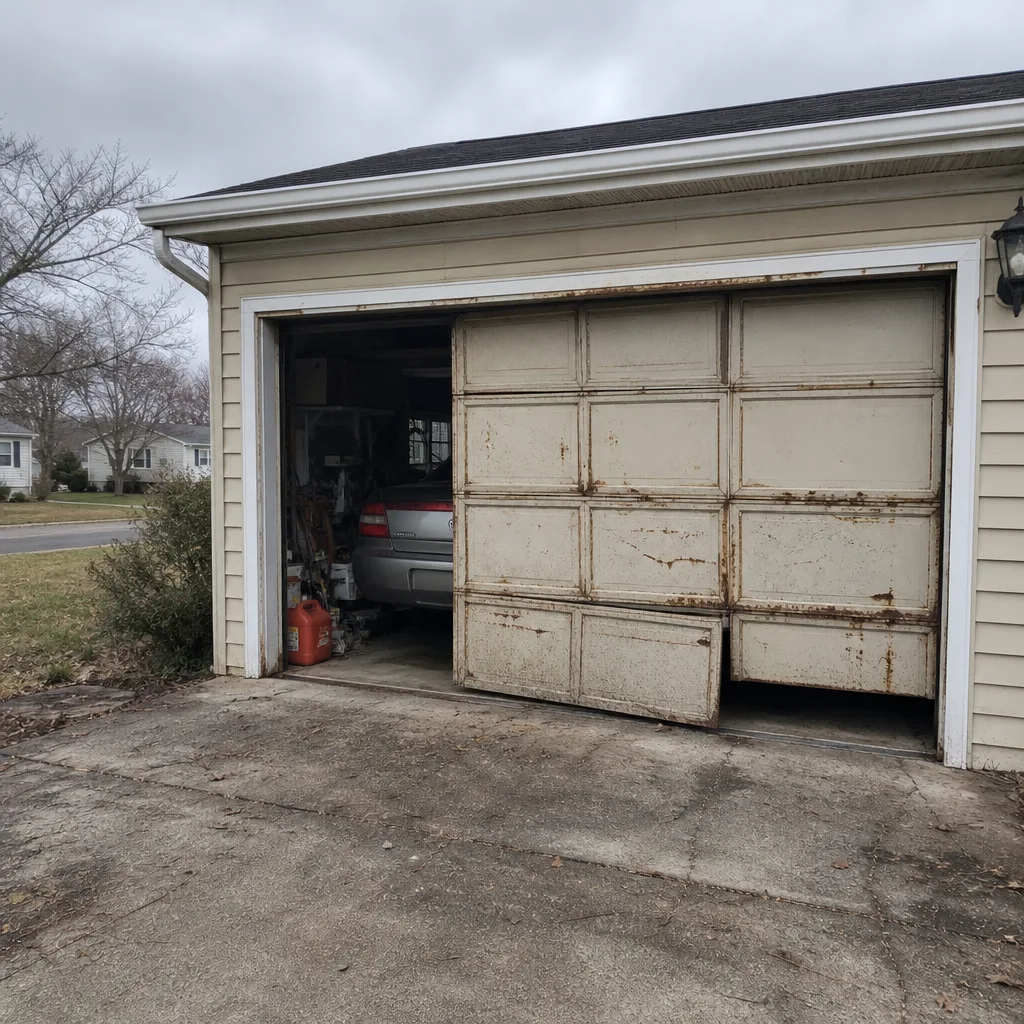 Before
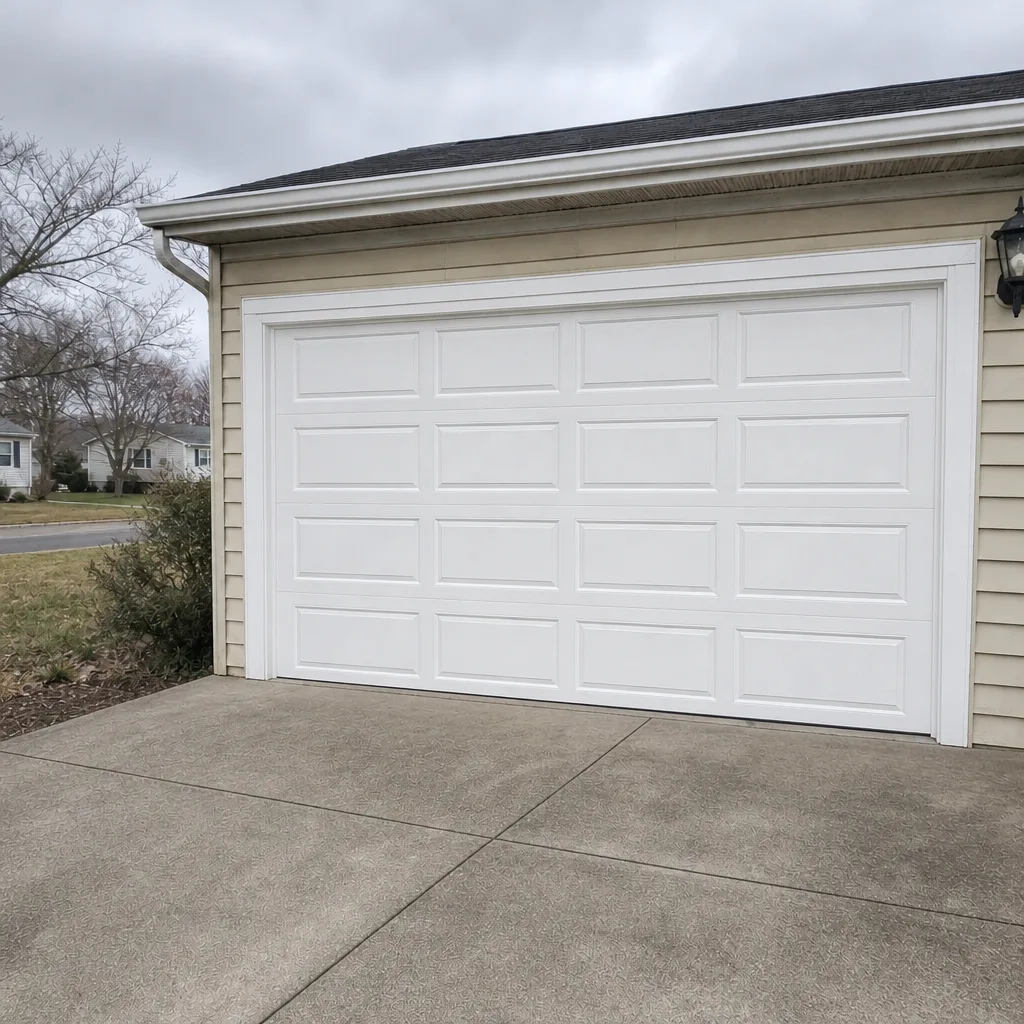 After
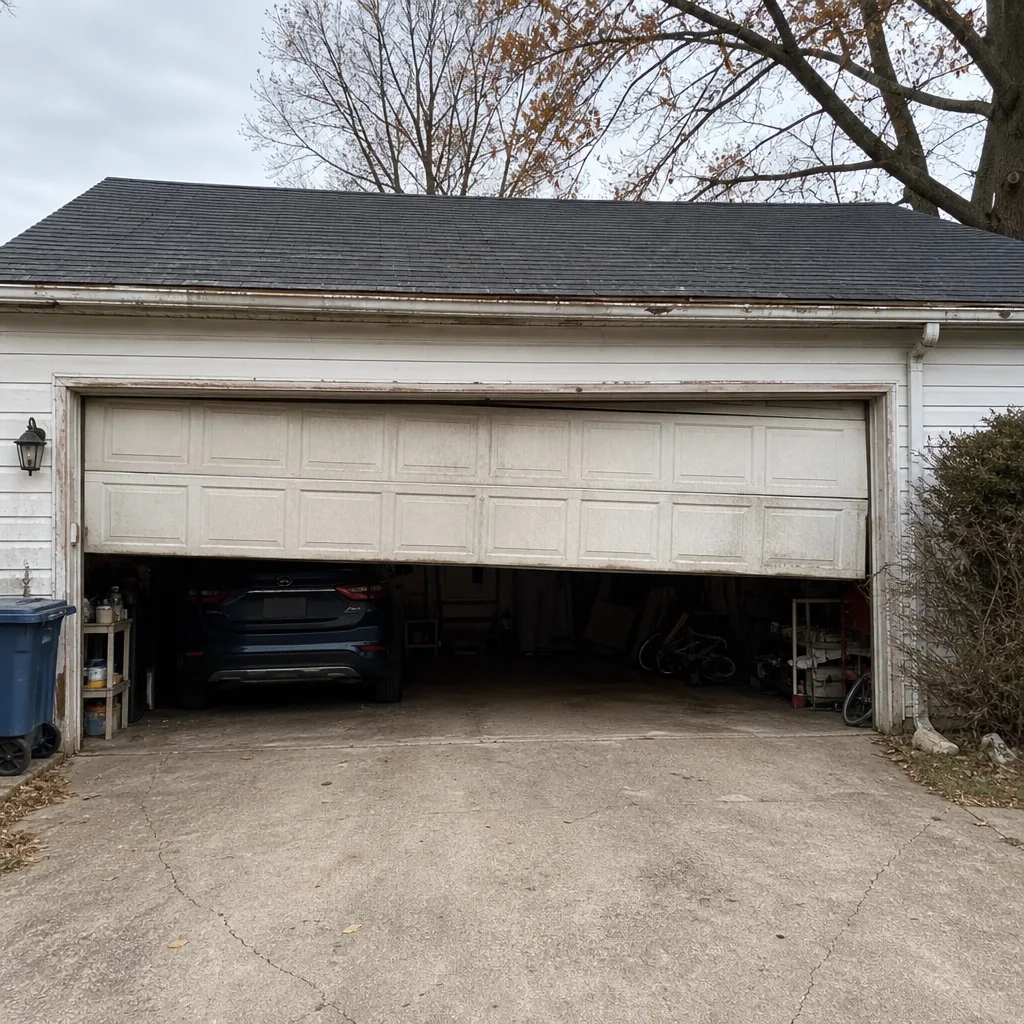 Before
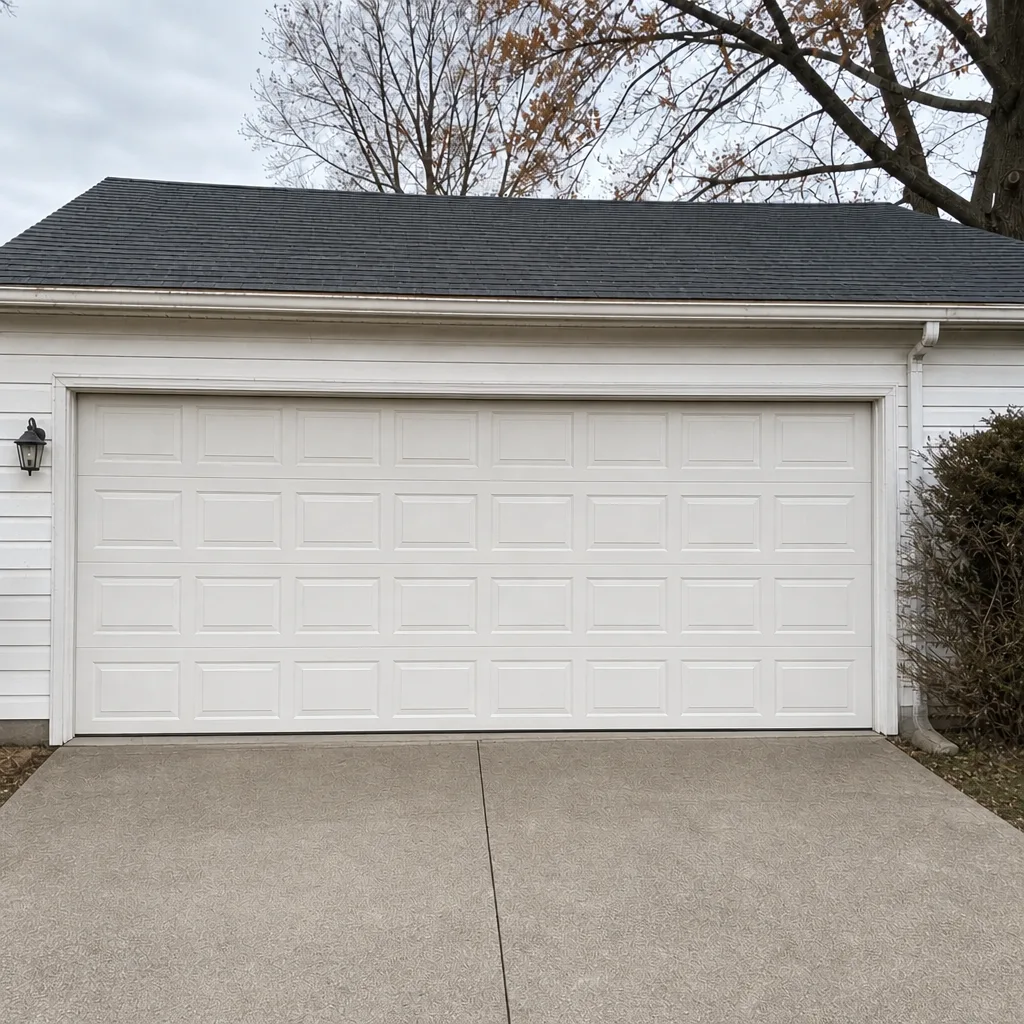 After
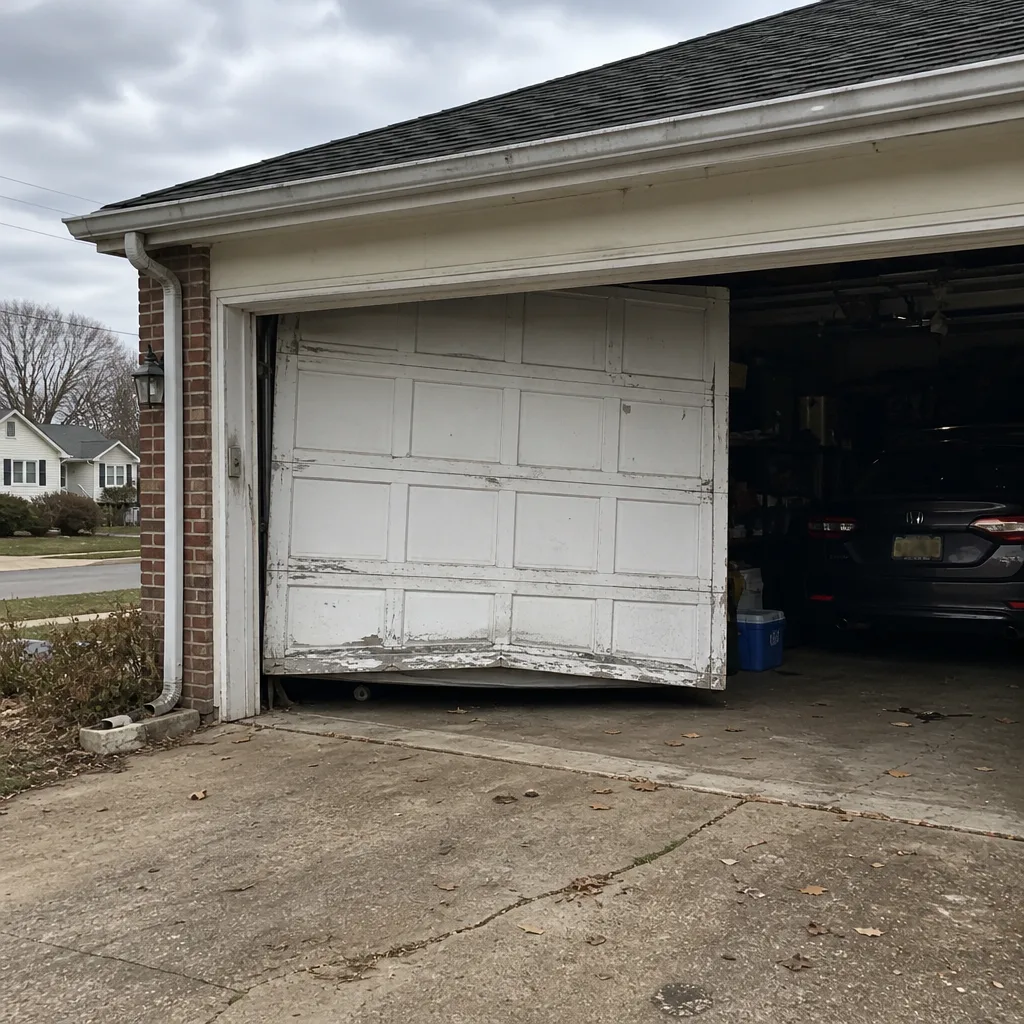 Before
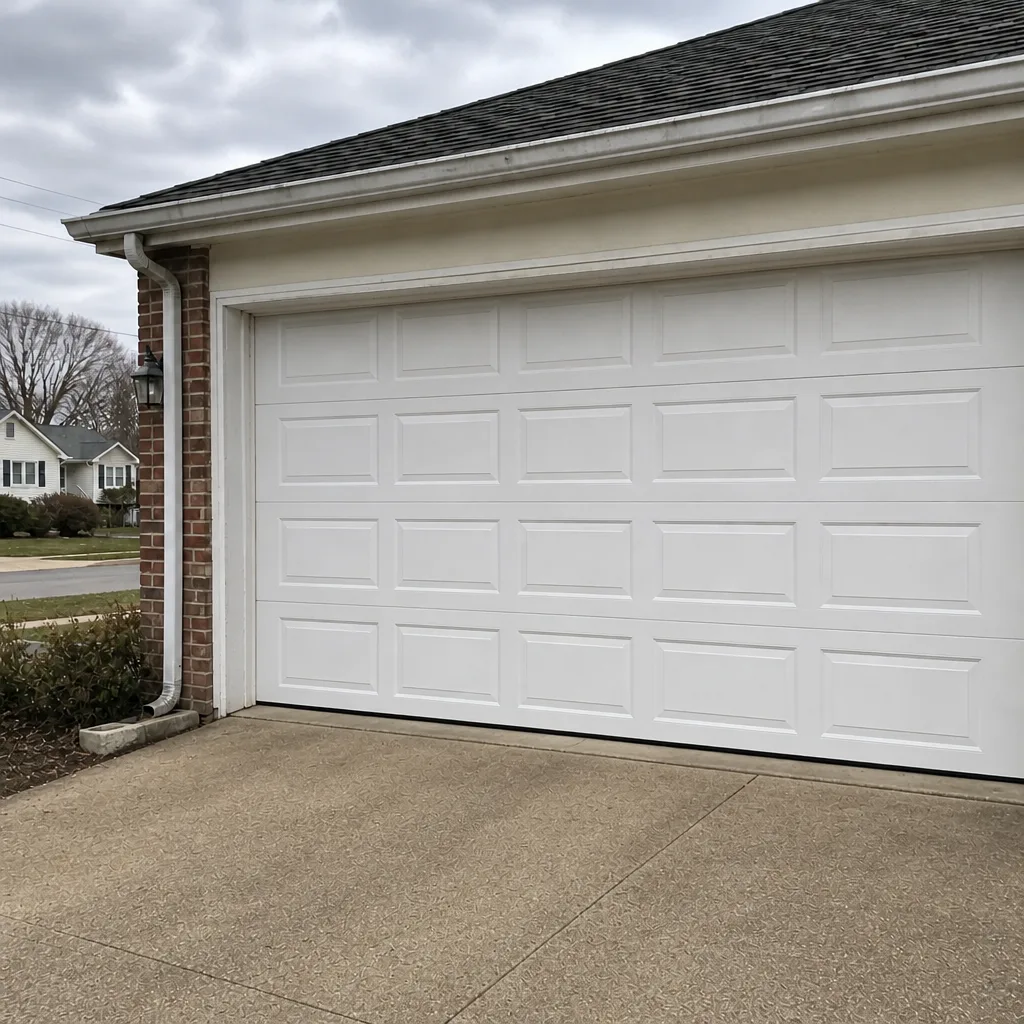 After
When to Call a Professional
Call a professional when any of the following is true: a spring is broken, stretched, or showing visible gaps; a cable is frayed, kinked, or slack; the door has come off its tracks; the door slams down or feels unusually heavy; the safety reverse fails; the opener runs but the door doesn’t move; or the door is stuck and can’t be safely operated by hand. These are all situations where continuing to use the door risks damage to the opener and injury to whoever is standing underneath.
Wilmington Garage Door Repair Co offers free estimates in Wilmington. Call (877) 780-7403. We answer 24/7, and fast dispatch runs from 7am to 7pm, Sunday through Friday. We work on every major brand, including Raynor, Chamberlain, and LiftMaster, so there’s no “we don’t service those” dead end. Springs, openers, cables, panels, and full replacements all fall under one call.
Frequently Asked Questions
Once a year is the baseline, ideally in early fall before the first freeze. Add a quick visual sweep in early spring to catch any cold-weather damage from the freeze-thaw cycle, and test the safety reverse every six months because that’s a safety function, not just a wear item.
No, and we’d strongly advise against trying. Torsion and extension springs hold enough stored energy to cause severe injury, and there’s no safe way to release that tension without professional winding bars and training. Spring repair is the one item on this checklist that should always be done by a trained technician.
Use a dedicated garage door lubricant, typically a lithium or silicone-based spray, on hinges, rollers, and the torsion spring. Keep the tracks dry. Never use general-purpose WD-40, grease, motor oil, or cooking oil, because all of them attract grit or evaporate and accelerate wear instead of preventing it.
The most common causes are misaligned or dirty photoelectric eyes, an obstruction in the door’s path, or a force setting that’s too sensitive. Clean the eyes with a soft cloth and check for obstructions. If the problem continues, the opener needs adjustment or repair. Call (877) 780-7403 for an exact quote, and estimates are free.
Sometimes. A light rattle or squeak is usually just worn rollers or dry hinges and responds well to lubricant and replacement parts. A grinding or shuddering noise that gets worse means something is binding, and that’s worth a professional look before it turns into damage to the opener or tracks.
Prices vary by the component and the door. Spring and cable work, opener repairs, roller and hinge replacements, and track work all sit at different price points. We give a written estimate before any work starts, and the price is set per job, so nothing changes once we’re on site. The estimate is free.
The Bottom Line
A garage door maintenance checklist only helps if you know what a fail actually looks like. Test the balance with the opener disconnected. Look at springs and cables with your eyes, not your hands. Keep lubrication off the tracks and test the safety reverse every six months. Do the full inspection in early fall in Wilmington to get ahead of the freeze-thaw cycle, and document what you find so you catch degradation as a trend rather than a surprise. The parts you shouldn’t touch are the ones under tension, and there’s no shame in that. Everything else, you can handle in a morning.
If a no-go item shows up or you’d rather have a specialist walk the checklist with you, call Wilmington Garage Door Repair Co at (877) 780-7403 for a free estimate. We answer 24/7, and fast dispatch runs from 7am to 7pm, Sunday through Friday.
Written by the team at Wilmington Garage Door Repair Co.